Wednesday, July 25, 2012

Happy Anniversary Sweet Shoppe!

This past week, I celebrated the 1st Anniversary of Sarah's Sweet Shoppe!


I am so thankful for the support and encouragement that I have received from my family and friends and the cookie community.  I am amazed how much I have learned and grown.  Thank you!  


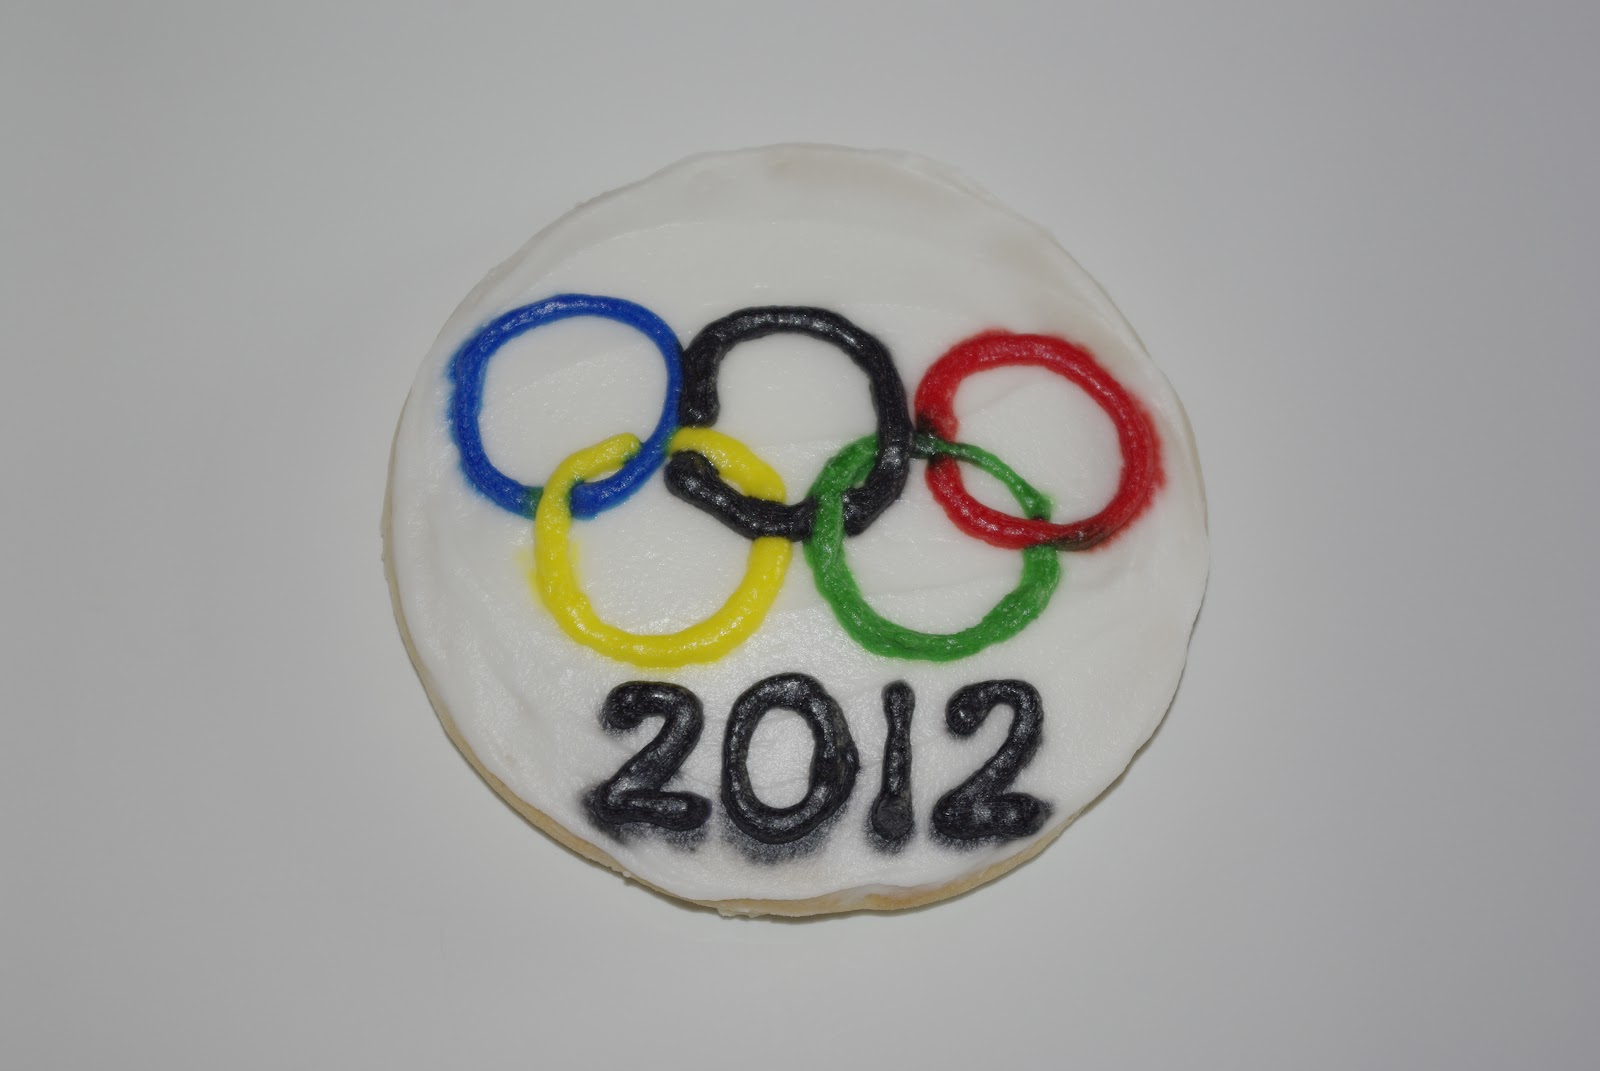
I have come a LONG way, since these first official cookies.   Thank you, Kari!

I was so proud of these VERY bright cookies.  In a way, I still am because they show where I started and the heart of my business... doing something I enjoy, with people I love, for friends supporting a cause I care about.  (Visit Anna's Heart for Haiti to learn more an amazing young lady and her work to raise money for the Global Orphan Project in Haiti.)

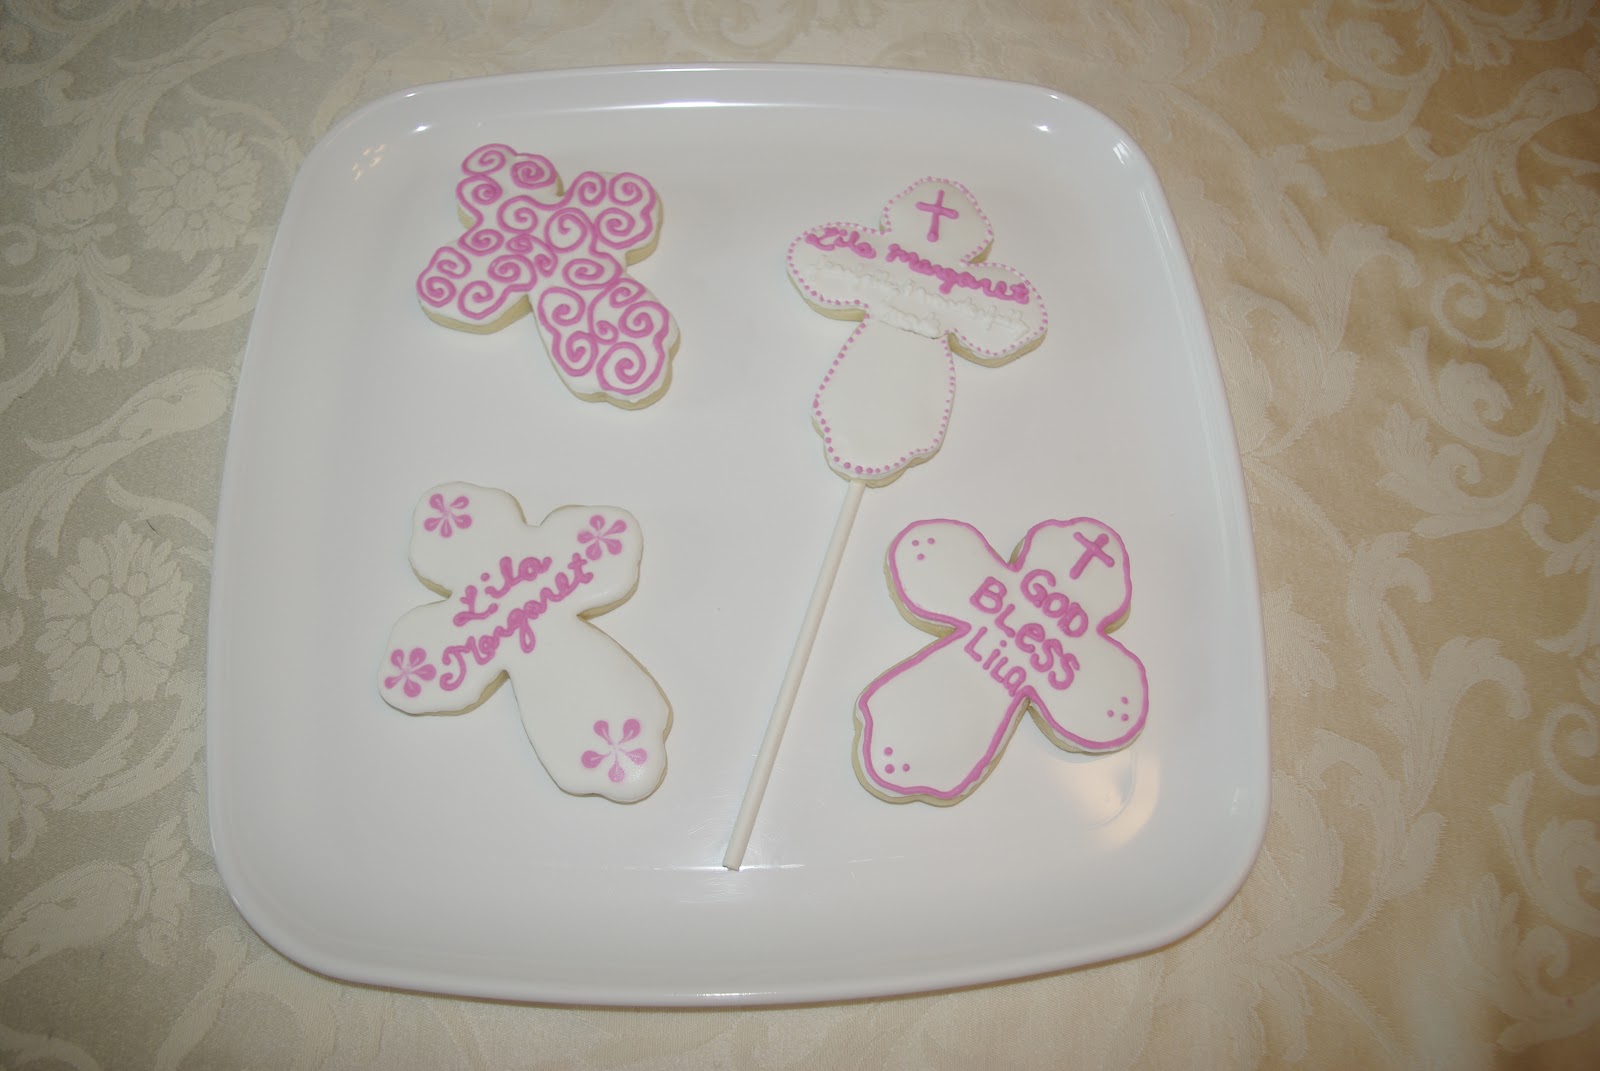
Thank you to my best friend Dana, who knew I could do this before I even did... and ordered baby shower cookies from me four years ago! 
In the beginning,  all of my cookies were simple fluffy frosting cookies. 


My first Royal Icing cookie. 
The encouragement and challenges of my cookie customers has helped me to grow.  A request for lego cookies forced me to learn both how to get by without a cookie cutter and how to make my own (Thanks, Bridget at Bake at 350 and Callye at Sweet Sugarbelle!) Plus, no one wants a fluffy lego, so I also learned how to make and use Royal Icing (Thanks Callye!), both of which have expanded my horizons exponentially.  For the full Lego Man tutorial, visit Callye, her cookies were the inspiration for this project.


I love how Sarah's Sweet Shoppe continues to challenge me to learn and grow, so in celebration, I created these ombre birthday cookies.


They were inspired by all of the cool looking cakes and goodies out there and in particular by this cake made my friends Tammy and Clarissa!

The wonderfully creative ideas of fellow bakers, cookiers, and artists, and their ever-so-helpful tutorials have been such a blessing to me.  Thank you!

So, as a way to say "Thank You" to the cookie community and in celebration of the Sweet Shoppe's 1st Anniversary, I am going to post my first tutorial...


Ombre Icing Tutorial

To make an ombre cookie or even cake, you need several shades of the same color of icing.  To do this, I worked out this system of coloring and saving that is pretty straight-forward.

I started with Sweet Sugarbelle's Royal Icing. I scooped out PLENTY of super firm icing into a two cup measuring cup.

I knew that I wanted six  shades of Coral.  I purchased a Coral color food coloring and was disappointed to find that it was NOT true to the sticker on the top, so I pulled out my handy-dandy Color Mixing Chart courtesy of Sweet Sugarbelle to learn that Coral is three parts rose pink and two parts lemon yellow.


To achieve that, I used my lemon yellow and rose pink gel "tub" colors.  I often use squeeze colors (such as Americolor), but in this case, I wanted to add the color VERY gradually.  (A big PLOP of color would have been VERY BAD for this project.)


I would stick my toothpick into the color.  As you can see, I put the rose pink in about a third deeper than the lemon yellow to achieve the prescribed 3:2 ratio.  I would scrape the toothpicks on the side of my measuring cup (and toss the toothpicks).


After each addition of color, I scooped out some into a smaller bowl. (It didn't matter that there was a little bit of the just lighter shade still  in the bowl.  This cut down significantly on dishes too! ;^)


Then, I used my spray bottle to make it into the thick-flood "twenty-second" consistency that I needed for my cookies.  Getting this right is EXTREMELY important for a polka-dot ombre cookie.

One of my six icings (#3) was a tad too runny and gave me LOTS of headaches in trying to keep my dots a consistent size and not running into one another.  In hindsight, I would have been better off to A) test it before I bagged it, by putting just a tad in a tip (without a bag) and pushing it through with my thumb to make a few little polka-dots and see if they acted right (sorry, I can't remember who taught me this genius idea that I forgot at the time) or B) cutting my loses and unbagging and adding some powdered sugar to thicken it, instead of forging ahead. (If it had been for a customer, instead of just for ME... I would have taken the time to get it right, instead, it provided another teachable moment. ;^)


Once it was the right consistency, I rolled the first color into plastic wrap as described in this tutorial by Karen at Karen's Cookies!  (Thank you!)

I also numbered the rolls because getting them out of order would also be a BIG problem for this cookie. ;^)

Then, I repeated the process until I had all six strengths of the same color icing!  I bagged them with a #2 tip and went to town on my cookie, which already had been flooded (the day before, so that it would be super-dry) with white icing.

As for the polka dots, I learned that it is VERY hard to do graduated-size dots on a flat cookie.  I had wanted them to be bigger at the bottom and smaller on top, but when I did that a it was VERY tricky to keep them lined up and I ended up with a LOT more white space at the top than I wanted to have.  I found it was easiest to keep your dots approximately the same size.  I did three rows of dots of each color to create my three tiered cake and then added a Sarah's Sweet Shoppe logo cookie on the top! ;^)  The other cookie, was a polka-dot cookie gone bad.  I ended up smearing the dots and then using a wet-on-wet technique to add swirls of the next deeper color.

Another great learning from this project is... if you are trying something new, one should probably bake more than two cookies to get it "perfect."  I ended up scraping the icing off and starting over on the icing on these cookies several times.   I was even tempted to scrap the whole post, just because they were not as "perfect" as I wanted them to be... until I was packing my husband's lunch this morning and came across these...


Two out of three of his Oreos were inside-out.  If the "King of Perfect Cookies" could have this happen, I can certainly post "learning" cookies!  

There comes a point when you just have to say "These are close enough... for cookies!"  

Finally, in hindsight, which always has 20/20 vision, I probably should have googled "ombre cookies" BEFORE I got started, instead of waiting until I was writing the blog post... a couple of amazing cookie artists have already written on this topic...
  • Amber at Sweet Ambs has this amazing tutorial on a brush embroidery ombre cookie.  I love how she put down the crumb layer, and also how she drew lines to keep her rows straight.
  • Callye at Sweet Sugarbelle also has this fun ombre cookie tutorial, so that you can skip everything I just taught you and get the look for a LOT less effort! 
Oh well.  Today, I will have my cookie and eat it too!

Cheers!
Sarah

Saturday, July 7, 2012

Cool Cookies for a HOT Day!


It is HOT in Kansas City.  Today we are going to hit a COOL 107 degrees! But, earlier this week, it was only 99 degrees, so Reader R. had a fun playdate at a friend's house to play in the sprinkler with many of the "going into 2nd grade" girls from school.  I made these fun cookies as a thank you for the hostess.  (I realized afterward, it would have been better to say "Thanks for COOL play on a HOT day!" but I wasn't that clever at the time that I was icing them. ;^))


I also made these sunshine cookies for my little sous-chef... She is my sweet sunshine!

Cheers and keep COOL!
Sarah

It's a GIRL!

Congratulations to Carlene and Josh! Today is their big baby shower for their baby on the way!


Carlene and Josh were pretty confident that they were having a boy... so they were pretty surprised when the ultrasound showed their pretty princess instead! Their good friends are hosting a "Barbie" themed baby shower to help them get used to the idea of all things girly!


These cookies coordinate with the invitations and were a fun way to mix baby and grown-up designs. Although, I did go slightly (more) batty switching back and forth from precise polka-dots to totally random zebra-stripes. ;^)    


I tried one in pink too... This pink zebra was done with a slightly different technique too. The traditional zebra-stripes are created on a completely dry white-iced cookie. I was very concerned about the black bleeding on to the white. This worked really well.


This pink zebra test cookie was done with a wet-on-wet technique, where I laid down the white base and then flooded the pink icing into the wet white icing. It seemed to work pretty well too. It was WAY faster. However, you can see that it did bleed a little bit, and it is a little more tricky to manage exactly where the lines end up.

I was also a little concerned because these cookies were traveling a long way, and due to the customer's travel schedule, she needed to pick up her cookies five days before the party, which meant that I was baking and decorating them more than a week before they would be eaten. I made sure that the cookies were done in time to be SUPER dry and then packed them tightly in a smaller bakery box, so that they wouldn't shift around during travel. I gave Sandra cookie care instructions: Do not leave them in the car. Do not put them in the fridge or freezer... And I saved one for myself to taste this morning, and sure enough, they were still delicious! Yippee!! I hope everyone at the party LOVED them! ;^)

This is the special extra cookie that I made for my friend Sandra, who placed this order. Sandra and Jason to celebrate their third wedding anniversary, so they still in the super-sweet-newlywed phase, but I cracked myself up wondering if she still loves him enough to share her cookie! ;^)


Cheers and Best Wishes! 

Sarah


Thursday, June 28, 2012

London 2012 - GO USA!

We are having a wonderful summer at the Rose home.  Thank you for your patience and encouragement as I took some time off to be with my family, teach Bible at VBS, and celebrated my birthday week! ;^)

We are excited about working on badges for American Heritage Girls (Reader R., my sweet over-achiever, approval-junkie, picked out 19 badges that she wants to try to earn this summer), and we have been having fun participating in Focus on the Family's Olympic Fitness Challenge  trying to squeeze in a little bit of daily fitness despite the heat.  
Reader R. with the first cake she decorated herself,
for her Cake Decorating  badge, of course!
Of course, what we would rather be doing is baking cookies...
 or sitting around watching countless hours of other people exercising!
Less than one month until the OLYMPICS!  Go USA!

Olympic cookie created with extra frosting... ;^)
(Yes. I baked the cookie more than a month ago, and then sat on the photo to share it one month from the Olympics starting, and missed the date.  Man! Oh well!)

Cheers!
Sarah

Choo, Choo, Braxton is Two!


Recently, a cute little boy celebrated his 2nd Birthday at Fritz's Railroad Restaurant, a local Kansas City restaurant that delivers your meal by train!  


His sweet Momma really wanted Royal Icing for the cute details, but knew that the two-year old crowd would prefer the Fluffy Frosting.  I was so pleased to be able to provide super-cute, detailed cookies with fluffy frosting!  ;^)


For Braxton's "Special Extra" cookie, I was trying to coordinate with the theme and these adorable invitations created for the event by Mikaela Garret at rivalgraphicdesign.com.  (You can reach her at 913-626-1100 or mikaela@rivaldesign.com, if you need any cool designs for your next special event.)


Thanks Laura for letting me share this special day with you!  Thanks Mikaela for the adorable inspiration!

Cheers!
Sarah


Oh Baby! How Sweet It is to Love You!


Earlier this Spring, one of my dear church friends had a beautiful baby girl.  The Women's Ministry at our church had a baby shower for sweet Lila Margaret, which happened to be the day before her baptism.  At the time, I also happened to be short on cash in the gift-giving budget, but long on ideas for beautiful cookies to celebrate the birth and baptism of this special baby girl, so Momma and Daddy got a gift basket from Sarah's Sweet Shoppe, filled with yummy cookies! ;^)


These "sign" cookies were my first attempt at using a "#1" tip for icing decorations.  Even with that small of a tip, it took several tries to squeeze all of those words on the big cookie! ;^)


 My wishes for their sweet family!
The "Daughter of the King" onesie is my favorite!
 I baked some of the cookies on sticks, so that they would "stick" up at the back of the basket. ;^) That backfired on me when one of the sticks broke out of the cookie while I was putting it in the bag.  No problem.  I just took another cross cookie and used Royal Icing to "glue" the stick back in place and covered it with the extra cookie. ;^) Extra cookies save the day (again)!
Top Right Cross reads: "Lila Margaret ~ Fearfully and Wonderfully Made"

In the final gift basket, I ended up hiding the small hearts down inside the basket to hold the other cookies in their places better.  After this photo was taken, I put the whole thing in a gift bag and tied it with a bow.  It was a beautiful gift (if I do say so myself...;^)) and Rachel appreciated the time and effort that went into creating such a personalized gift of love.  Besides, who really needs more baby clothes anyway, right?
The finished Gift Basket with the Hearts tucked inside!

I also made these baby hands and feet, but they didn't make the cut for the basket.  It was fun to try my new cutters, but I wasn't completely happy with how they turned out, this time. ;^)

Congratulations Rachel and Johnny!
Happy Baptism Lila!

Love,
Mrs. Rose


Tuesday, June 26, 2012

Are you Curious about Allergies? Just Ask!

Good Morning Sweet Shoppe Friends!

Do you have a loved one with food allergies?  Is it hard to find the perfect treat for him/her?  Are you "Curious" about whether Sarah's Sweet Shoppe can help?  Just Ask!

As a home-based bakery, we to do NOT have the protections in place to be able to accommodate a SERIOUS allergy.  That said, I am happy to speak with the customer (I would prefer to also speak with the person with the allergy or their parent) to see if I can make treats that are safe for you or your child.

Dairy-Free Curious George Cookie and Personalized Man with the Yellow Hat Special Extra

For example, I recently, was asked to make a dairy-free cake and cookies for a sweet little boy's 2nd Birthday Party.  While it was a little challenging, to learn what would be safe for him to eat, I was able to create both, with only a small added expense for special supplies.  The cookies didn't taste exactly like my standard cookies, but they were still adorable and delicious.  Because the birthday boy was small enough not to be helping himself, with the Mom's "blessing," I was even able to put the dairy and non-dairy cookies in the same box.

Dairy-Free Cookies are Marked with the Birthday Boy's Name "Tate"

For these dairy-free cookies, I was able to use "Earth Balance" as a butter substitute.  (I found it at the Walmart Supercenter, for about $5.) It worked pretty well. The cookies were not quite as soft and fluffy as they usually are.  They were more the consistency of a thick pie crust and flakey.  They also had a bit of a "nutty" taste to them, however several taste-testers said that they were yummy! ;^)

However, a preschool asked me about baking nut-free cookies for their graduation program, because several kiddos had serious nut allergies.  I had to decline this opportunity, because I do have nuts and nut products in my kitchen.  I also usually use pure Almond extract in my cookies.  Without being able to speak directly to the person with the allergies, I would not be comfortable labeling my cookies as nut-free for a buffet line.


Dairy-Free Curious George Cake~
Dark Chocolate with Dark Chocolate and Caramel Frosting
& Royal Icing Transfer Eyes

That said, a mother ordered "nut-free" cookies for a preschool class party last fall.  No one in the class had an allergy, they just had to be nut-free to meet the requirements of the school's nut-free policy.  I made those cookies with  vanilla extract, and they were OK for that class.  So, it really is an order-by-order deal.

I have also been asked about glutten-free cookies.  I have not tried them yet... but would be happy to if I had a customer who needed them.  Again, it helps me to talk to the person with the allergy challenge, so that I can save time (and expense) in researching what products work and do not work for the particular customer.  I do also have to add a small fee to cover my additional expenses, since I do not buy allergy-free products in bulk.


Dairy-Free "Tate" Cookie (right) with "Regular" cookie (left)


I have heard that it is difficult to get gluten-free cookies to taste good, but truthfully, even cardboard cutouts would decorate-up super fun! And everything tastes better with icing!  ;^)

Please do not hesitate to ask!

Cheers!
Sarah